Portrait Basics - Art Fundamentals
PORTRAIT BASICS
Portrait drawing and painting can be overwhelming when you first start. Through this lesson, we will discuss some basic ways to measure and map out the face, discuss warm up exercises to get you more relaxed, and talk about ways to bring personality and emotion to your portrait.
BRINGING IN PERSONALITY & EMOTION
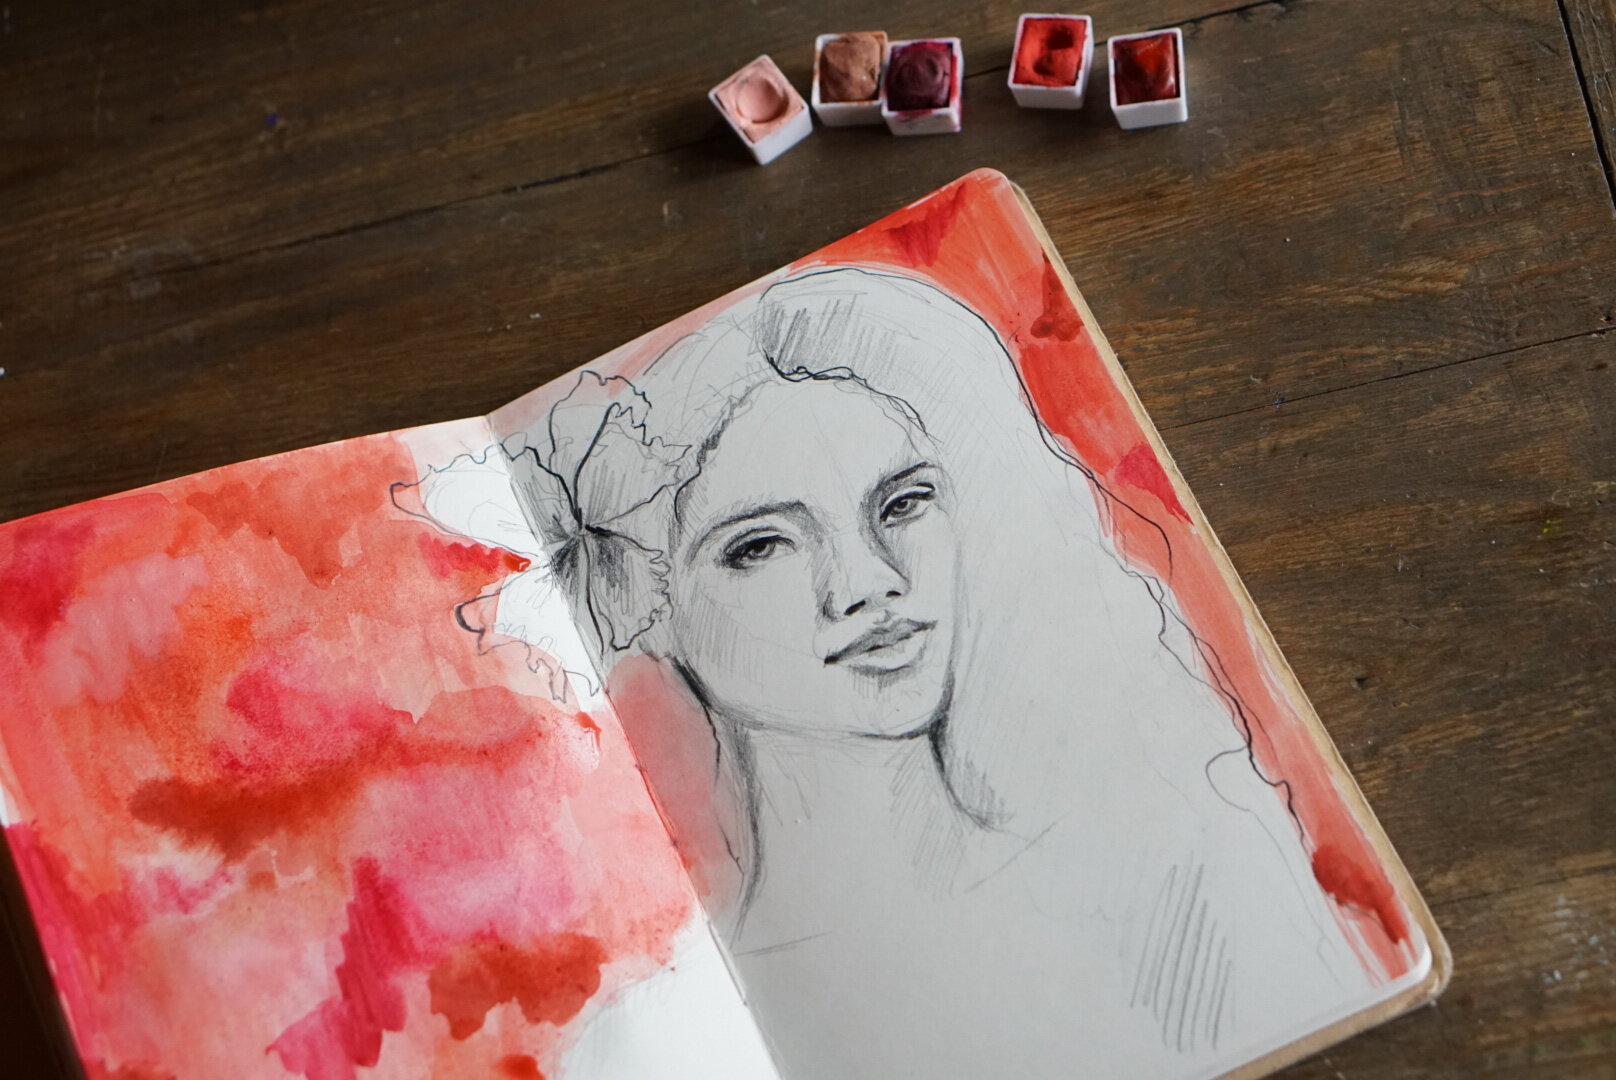
We all focus on the appearance of our portrait, the proportions, the shading, the line etc. Although these are very important, the heart of a portrait is the person’s personality and emotion. As an artist, how do you convey the person’s personality through your work? Whether you are working from a photograph of someone you don’t know or a commissioned piece of a good friend you want to really think about the feeling the viewer gets from your portrait. Do you want them to feel joy, sorrow, reflection, romance? You can allow the emotions to come through in your portrait in various ways. The selection of materials used, the composition of the piece, the angle of the face, your choice of line and movement, the clothing the person is wearing, or the colors used. The goal is to have the viewer engage and connect to the subject matter.
PHOTO RESOURCES
Start with some photographs from a variety of angles. If you are just starting with portrait work, I would suggest working on a straight on view. You can find resource photos in magazines, on Pinterest or you can take your own photos of friends and family members or draw from life. I love working from my own photographs or royalty free ones from Unsplash. To access my portrait folder on Unsplash visit the link below. I love to bring my own emotion and style into the drawing to really make it different than the photograph.


HOW TO START?
I like to start by measuring the face from hairline to chin and from temple to temple. I do this by drawing axis lines horizontally and vertically down the face. These proportions will vary depending on the angle or view point of the face but they will serve as a guide before you map in your features. You can place a piece of tape on a ball horizontally and vertically to better understand what happens to the features when the head is tilted in a different position.
MAPPING IN YOUR FEATURES
You can break the face into thirds from hairline to eyebrow, eyebrow to nose, and nose to chin. Personally, I like to start measuring the middle of the eyes to the bottom of the nose, the nose to the center line of the mouth. Horizontally, I will measure the distance from temple to the edge of your eye and then the width of your eye. Generally, you have one eye length distance in between both eyes. Next, you can measure the width of the nose as well as the mouth. This will vary depending on subject matter and the view point. The edge of most people’s noses goes to the corner of your eye and the edge of your mouth to the inner part of your iris.
PORTRAIT EXERCISES
Practice, practice and more practice! Keep a journal in your purse and draw whenever you can. I have a few favorite portrait exercises to help ease me into the process. I love to practice contour drawings (draw the face without lifting the pencil), work with your non-dominant hand or blindly (don’t look at your paper at all), value sketches where you work with just the shadow and light of the face, draw the face in shapes, or trace directly onto the photograph or with tracing paper to get a better feel of the person’s features.
DRAWING SUPPLIES
For a list of my favorite drawing supplies please go to my Resources page - Art Supplies