Kenya Kids Projects

For our kids Kenya project, we decided to work on several projects at once. We typically spread these out throughout the month but we had a couple of friends over for summer art class so we decided to work on them all! Since I had a variety of ages, we started with one project all together and then I gave the kids options based on their ages.
Visual boards are key when working with kids! I used the print outs below with photos from my Pinterest board to help describe Africa and our projects. We started by talking about the people of Kenya, what they wear, what they eat, how they live and what you can do and see in Africa. Naturally, the kids were very interested in the animals and safaris so our first project was to make little matchbox cameras. We talked about all the things you would need to take on a safari and discussed that you would want a camera to take photos of the beautiful wildlife. This helped to get them interested in the culture and link in our art project. Instructions below!


Mini Matchbox Cameras
Supplies: Matchbox, hot glue gun/glue, buttons/sequins/beads, construction paper and markers/paints.
Empty the matches out of the matchbox
Cut pieces of regular paper or construction paper in different colors to fit inside the matchboxes. We did about 3-5 per box and these will be their “photos”.
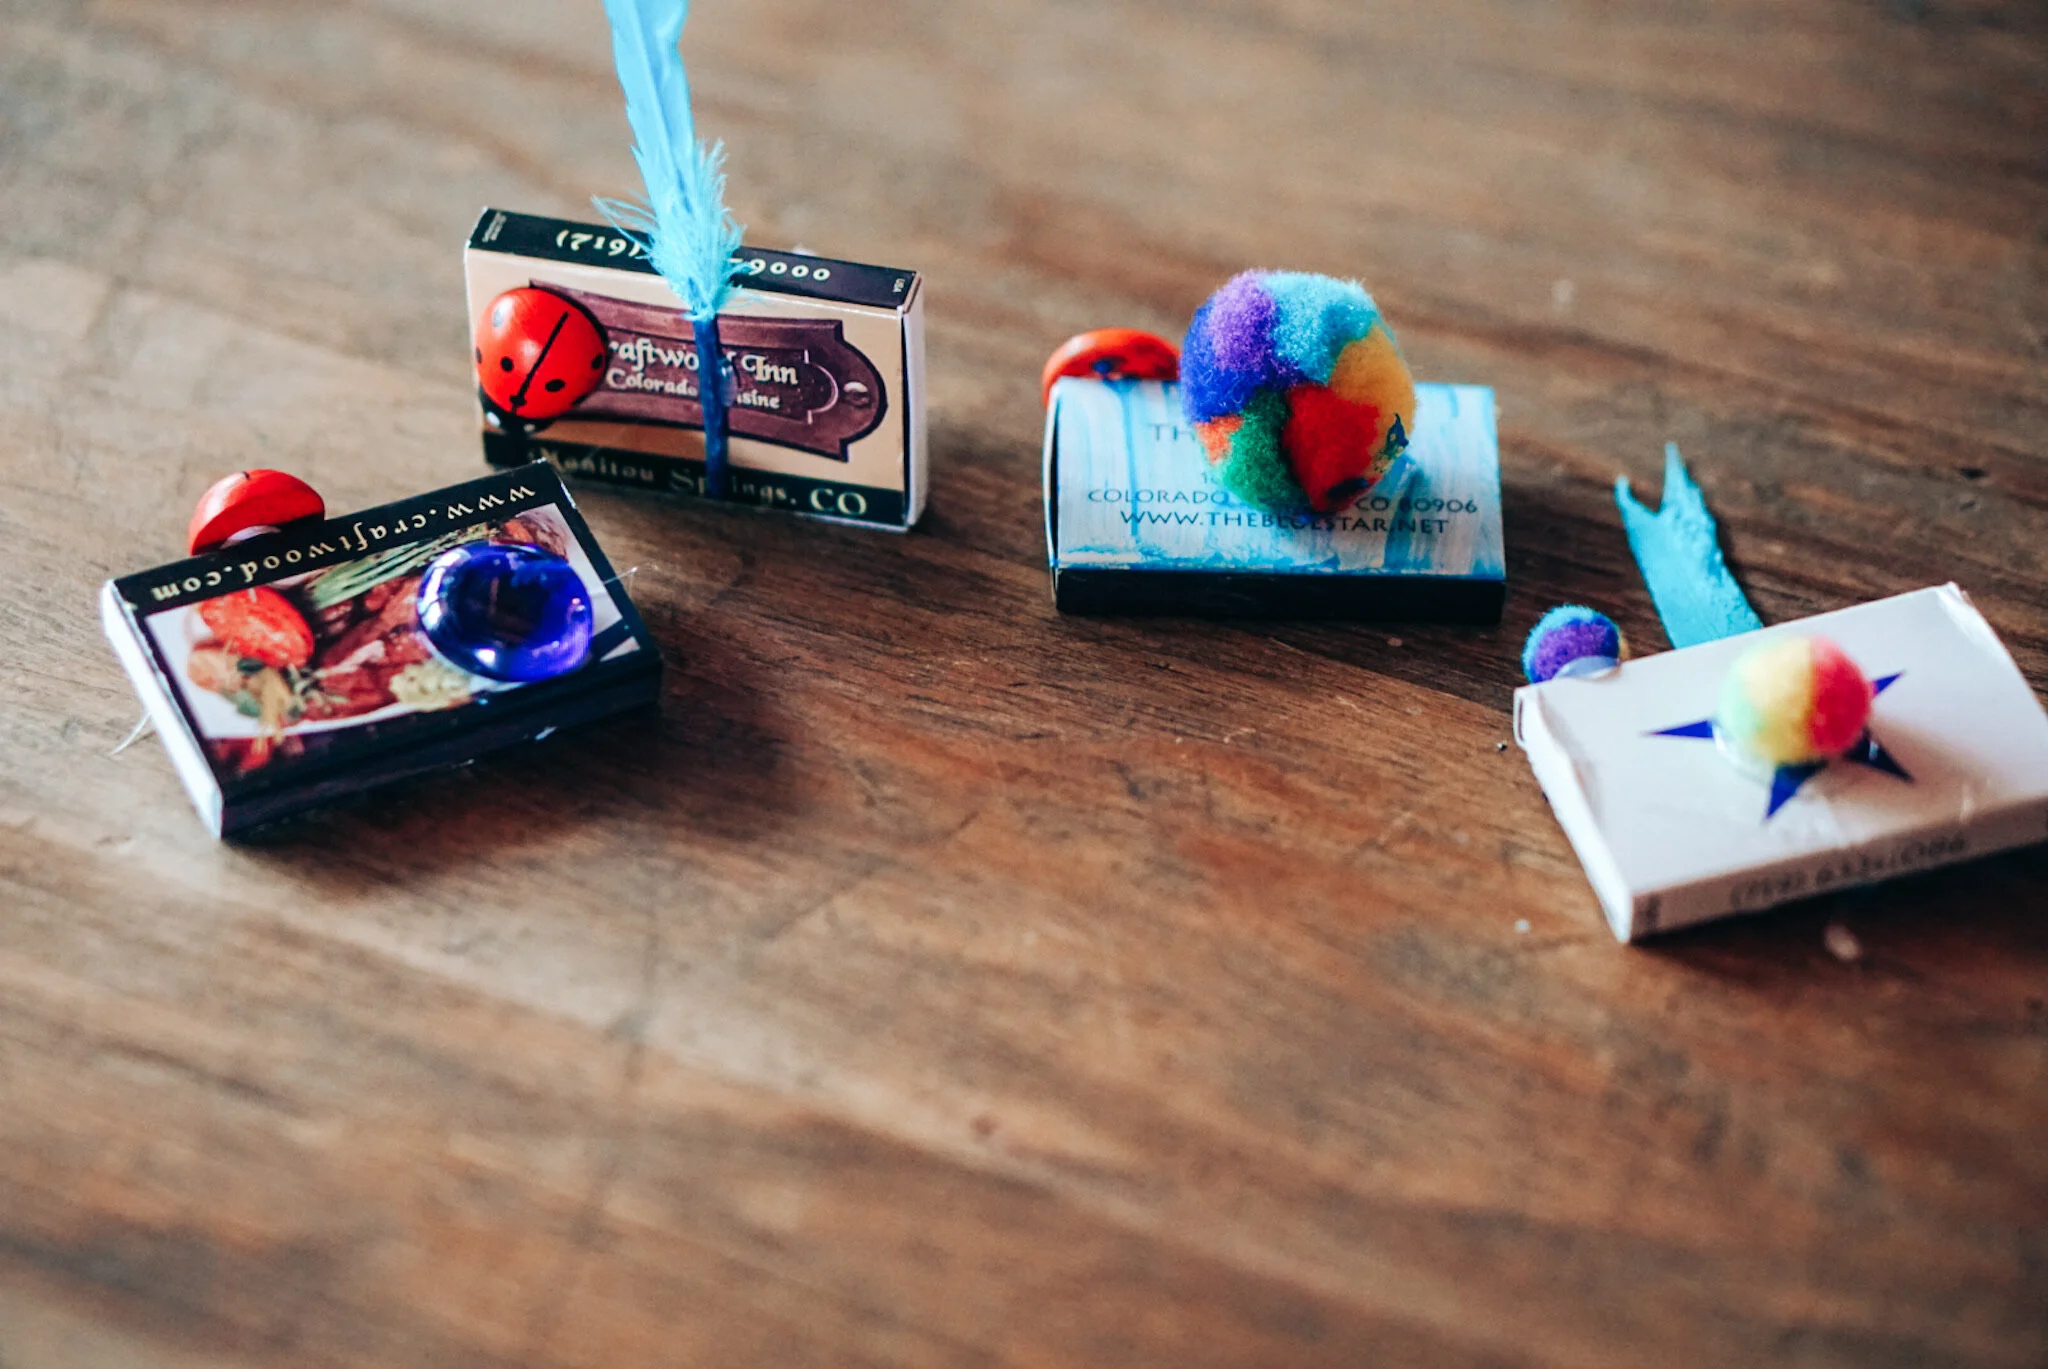
Decorate your matchbox to make it look like a camera with a circular shape for the lens and the button on top. Let the kids paint/draw/use stickers to decorate the boxes.
The kids can either draw animals or use animal stickers on their paper pieces. These will go inside the matchbox and will be the photos. Encourage the kids to draw different animals from Kenya ex: elephants, giraffes, zebras etc.
Optional: You can also make a strap for the camera using a ribbon or string glued to the top of each corner.
All done! The kids ran around saying cheese for the remainder of the day!


African Masks
Supplies: Cardboard, construction paper, paint daubers, sequins, beads, feathers cut paper straws, markers/paints, and glue.
Start by cutting the cardboard box into rectangle pieces. You can then make them into oval shapes by rounding the corners. The kids may need some help with this step depending on their age and the thickness of the cardboard.
Now it is time to decorate! I showed the kids some photographs of masks from Kenya for inspiration. We had a large array of art materials for the kids to use for decorating but use what you have on hand. I encouraged them to paint or use papers to collage first and then they could add noses/mouths/ears/ and other accessories. They loved using the different patterned papers particularly the zebra and cheetah stripes.
Next, have them cut out shapes for the facial features.
Finally, it is time to accessorize! Beads, dots, feathers etc.


Textile Printmaking
Supplies: Wood or styrofoam block, thick yarn or twine, construction paper or cotton fabric and paint.
Wrap the yarn around a wood block or styrofoam block. Crisscross the yarn so it makes an interesting pattern and then wrap the ends underneath.
Get a plate full of paint and have the kids gently dab the block into the paint like a stamp. Our initial prints had too much paint and turned out to be big blobs. If you get too much paint just wipe it on the side of the plate so the pattern is visual.
The kids used these patterns on their masks and on the background of paper. You could also do shadow drawings on top of these patterns. VIDEO


